Ragdoll Gladiator Arena Guides & Walkthroughs
Every tutorial for mastering physics combat, bosses, and unlocks in the pit.
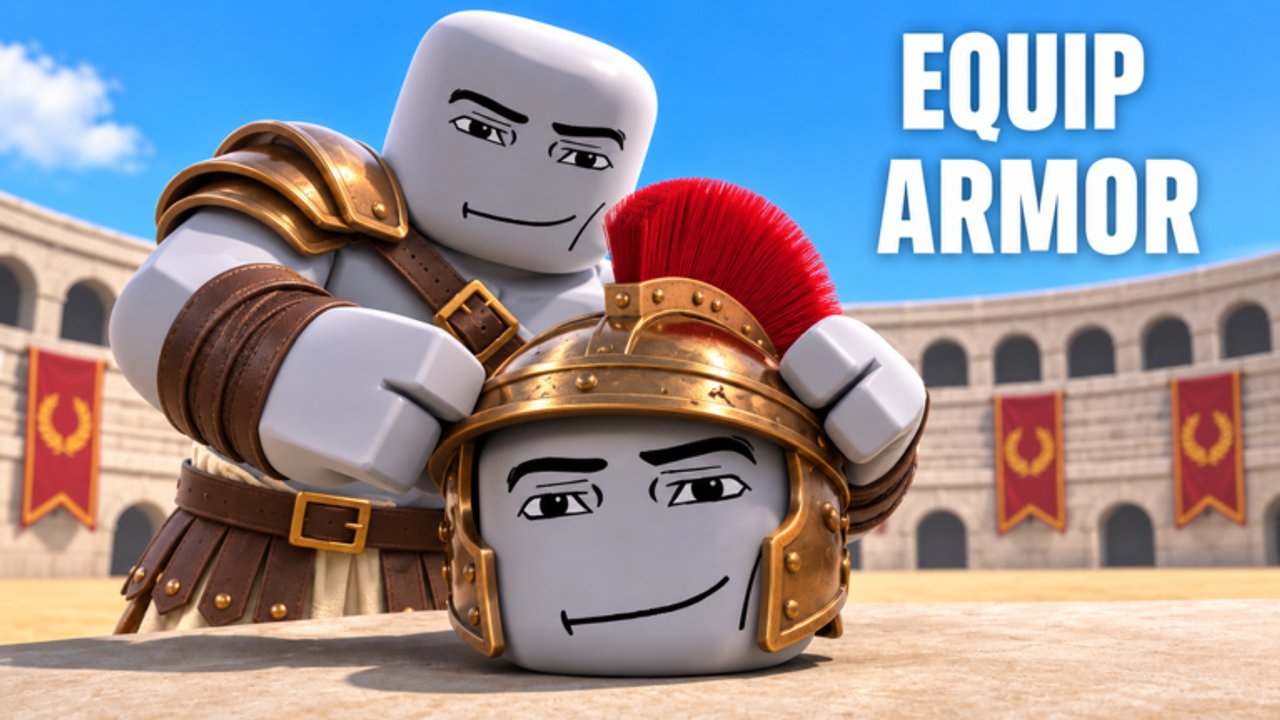
Welcome to the guides hub for Ragdoll Gladiator Arena on Roblox. Every page here is written for fighters who want clean knockouts, smarter unlocks, and fewer deaths to spike walls. Start shallow if you just installed the experience, or jump straight to bosses if you already understand punches and grabs.
Start here
- Getting Started — first-hour checklist with video walkthrough
- Controls — PC, mobile, and controller inputs
- Combat Tips — combos, haymakers, grabs, trap tech
Systems and toys
- Weapons Guide — how each class of weapon behaves in physics space
- Sandbox Mode — spawn fighters, change gravity, practice giants
Endgame threats
- Bosses Guide — Zeus, Poseidon, Hades, Caesar tactics
- Cross-link the boss roster for quick bios
How to use these guides
- Skim Getting Started once, even if you have hours played — it catches UI habits you may have skipped.
- Drill Controls until inputs are muscle memory; physics games punish hesitation.
- Apply Combat Tips in short arena runs before unlocking novelty gear.
- Use Sandbox as a lab whenever a tier list recommendation feels awkward.
- Attempt bosses only after you can clear normal packs without panic.
Supporting hubs
Guides work best beside the rest of the wiki:
- Claim gifts on the codes hub
- Compare gear on the tier list hub
- Understand automation risks on the scripts hub
- Track patches on the updates hub
Video policy
Each guide embeds at most one real YouTube video mid-article. We never invent video IDs. If a tutorial goes private, we replace it on the next content pass.
Contribution mindset
This is a fan wiki. When More HIdeaway Games changes a control prompt or boss name, we update the matching guide and the facts trail. Bookmark the hub, not a single screenshot of a keybind table.
Master the fundamentals, then specialize. The pit rewards intention more than inventory size.
Guide difficulty lanes
- Green lane: Getting Started, Controls, Sandbox Mode
- Blue lane: Combat Tips, Weapons Guide
- Gold lane: Bosses Guide plus the players bios
Move up a lane only when the previous lane’s drills feel boring in a good way. Skipping straight to gold lane is how fire pits get more visits than you do.
Cross-linking rules we follow
Every guide points to at least one hub outside Guides — codes, tiers, scripts, or updates — so you never dead-end inside a single silo. When you publish clips, deep-link the exact guide that matches the tech on screen instead of only the homepage.
Video placement
Videos sit mid-article after the opening context. Watch with a goal: one mechanic to copy, not passive background noise. If a video disappears, the surrounding text still teaches the loop.
Updating older habits
After each updates entry, re-open the guide that touches the changed system. Controls rarely move, but weapon feel and boss timing do. Ten focused minutes beats rereading the entire hub.
Session templates
30-minute night session: Controls warm-up, one combat drill, one live clear. 60-minute weekend session: Weapons lab in Sandbox, tier review, one boss attempt. Tilt recovery session: Sandbox only, default gravity, no god powers until composure returns.
Frequently Asked Questions
Quick answers to the most common questions.
Which guide should I read first?
Getting Started, then Controls, then Combat Tips.
Do guides work on mobile?
Yes. Controls and combat pages call out mobile differences explicitly.
Where are weapon rankings?
Letter grades live on the weapons tier list; mechanical detail lives on the weapons guide.
Is there a multiplayer guide?
Servers are solo versus AI. Focus on PvE physics, traps, and bosses instead.